Showing posts with label DIY. Show all posts

Tuesday, October 13, 2009

One of several new projects.


Recent thrift store purchase. I love milk glass and I love hobnailing, but they're not mutually exclusive. We're trying to decide in which direction to go with restoration.

Do we...
- strip the wood and brass and then reseal both
- strip the wood and either stain or paint, and leave the brass (polished)
- paint both?

Friday, October 9, 2009

Frosted Spooky Candleholders.

I love our tumblers and will find ANY excuse to take photos of them in our decor. When not 'in use' we have them sitting on our bar with our absinthiana.

I recently stumbled upon a post where someone hacked their own version of silhouetted candles. Nicely done, I think, but I'd like to take it a step further and combine it with these instructions found on Country Living.

STEP 1: Measure the height and circumference of the glass candleholder you want to transform.
STEP 2: Scan or download a copyright-free black-and-white illustration onto your computer (we used antique drawings from The Clip Art Book, from $7.59; Gramercy). Using Adobe Photoshop or a similar photo-editing program, adjust the image's size and orientation to fit your vessel's measurements (it may help to print a sample first).
STEP 3: Once the image is the correct size, load white vellum into your printer and print. Gently set the image on a flat surface for a few minutes to allow the ink to dry.
STEP 4: Trim the vellum so it measures exactly as tall as your candleholder and half an inch wider than its circumference.
STEP 5:
Wrap the paper around the candleholder and secure the overlapping ends with double-sided tape. Fit the glass with a candle and light.

I'll be back in the next week or two with our own versions. We need to purchase vellum this weekend for a couple of projects. But for now, I'll get this up for anyone to try.

Tuesday, September 29, 2009

More in the silhouette style.

I just can't get enough of this, but it's a little ingrained in me.

{Photo Credit: marthastewart.com}

{Photo Credit: marthastewart.com}
Make it!

Tuesday, September 1, 2009

Green Wedding Shoes

{Photo credit: Stacy Bode}
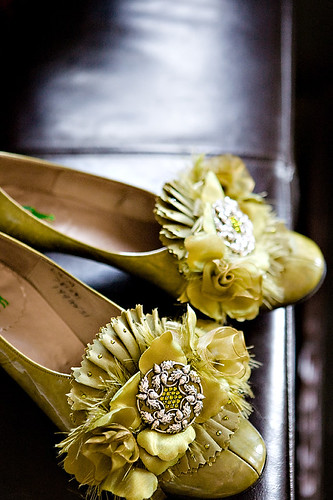
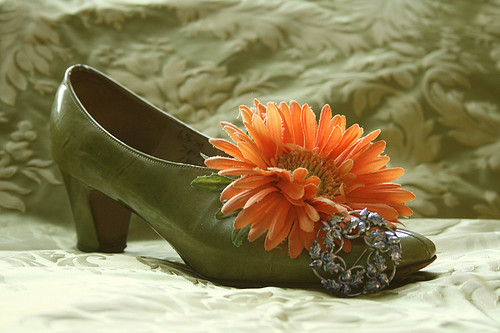
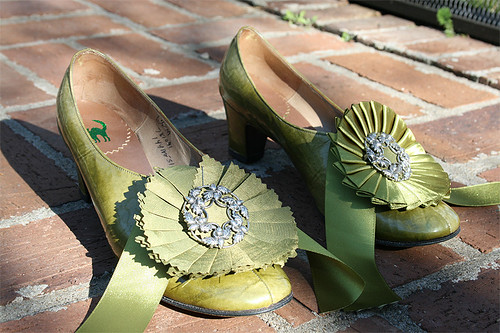
These vintage Andrew Geller shoes were originally bought at Stefan's in Atlanta when I was a bridesmaid in Ms. Bode's wedding. For Stacey's wedding I pulled the hot pink linen tabs off and replaced them with orange gerbera daisies. Our colors were orange and we carried bouquets of green hydrangeas.

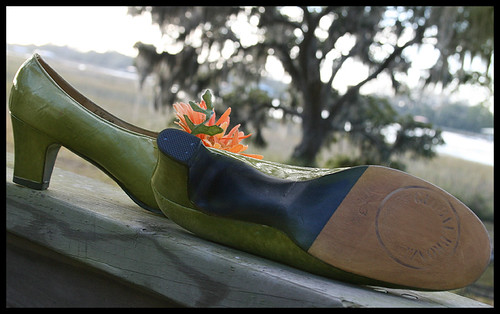
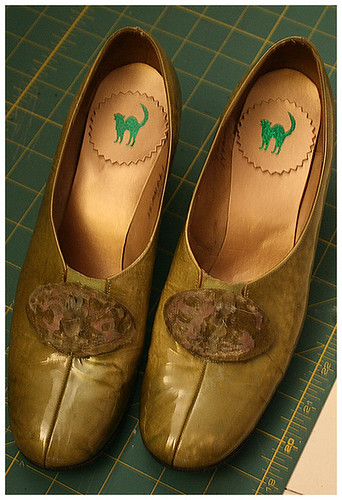
Last year I had them resoled at Peter & Sons in South Windermere shopping center. The insoles and toe embellishments were done by me and the sterling acorn brooches were purchased on eBay. Swarovski hot fix rhinestones are olivine color.
{Photo credit: Evita Smith}
My shoes before I retired the daisies.

{Photo credit: Evita Smith}
After a resole by Peter & Sons in South Windermere shopping center. Our family has used them for decades!

{Photo credit: Evita Smith}
The cats were made from a Martha Stewart punch we purchased at Michael's last year. The green glitter sticker material is from my Peacock Goddess costume skull 'extras'. I ordered the sheets from Sam Flax (4 years ago).

{Photo credit: Evita Smith}
I pleated both the taffeta and double-side satin ribbon. I chose the taffeta because the pleating was crisper. Doing this project alone took FOREVER!

DIY Ring Bowl/Nest

{Photo credit: Stacy Bode}
Aileen, ringbearer and friend extraordinaire.

{Photo credit: Evita Smith}
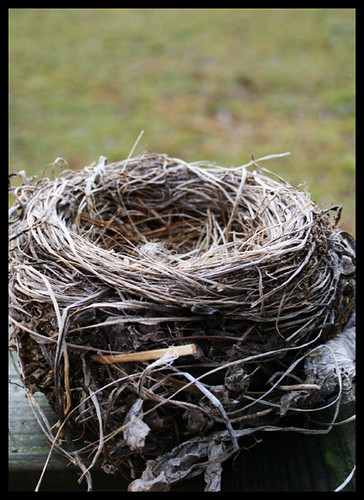
About two and a half years ago Michael discovered a nest being built in the side of the warehouse that faced our loft parking lot, just above and electrical juncture. He kept an eye on it because he feared that the nest would be abandoned due to it's precarious location. He was right, as usual. He did wait over a week after they stopped working on it before he brought it inside.

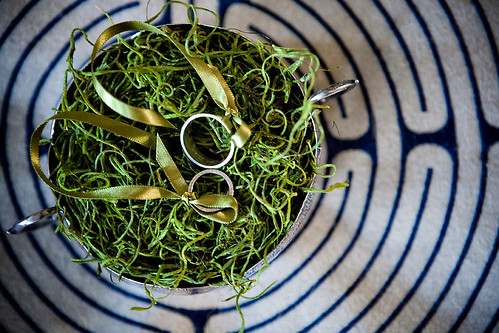
We realized it was just too fragile to use for the wedding and needed to look for something else. The bowl we choose has been a favorite of mine since I was a child. The moss came from Pottery Barn years ago. I know, we live in the land of moss but my mother fell in love with the green.

{Photo credit: Michael Judd}

{Photo credit: Stacy Bode}

{Photo credit: Michael Judd}
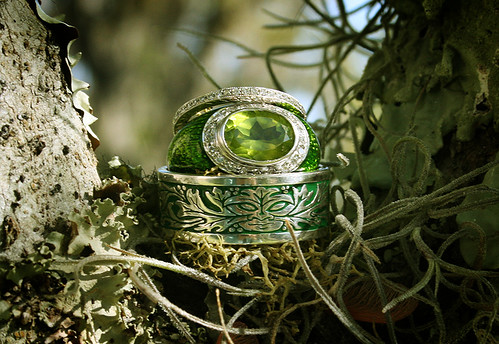
Michael's Greenman ring made by Bellchamber goldsmiths. They're awesome beyond words.

My engagement ring is an estate enameled white gold ring with a peridot center stone surrounded by diamonds. My wedding band is white gold eternity band and was cast from an antique mold.

{Photo credit: Stacy Bode}
Aileen acquiring last minute wishes from our friends before the ceremony starts.

Monday, August 31, 2009

DIY Graphics - Invitations

Being a native of the Lowcountry, nothing is more quintessentially 'Lowcountry' to me than Carew Rice's silhouette art (scroll down a bit). This is something of a tribute to his work.

Photo credit: Evita Smith.

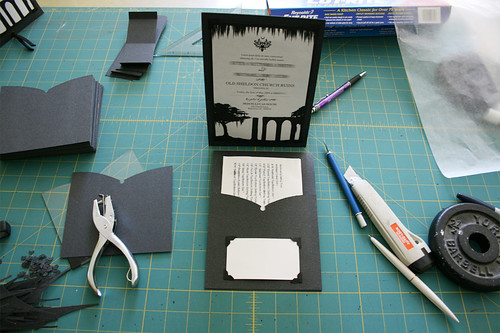
We hoped that making a 'sandwich board' style invite would cut down on them either going in a drawer or in the trash.

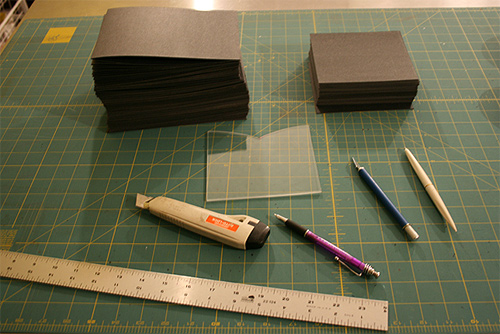
We cut every piece of paper and made the pockets ourselves. Michael made the nifty plexiglass cutting template for the top edge of the pocket.

Total cost with postage was about $150 for 80 invitations and 70 mailings.

Photo credit: Evita Smith.

Photo credit: Evita Smith.
You can see the original invitation which shows Old Sheldon Church Ruins. We were scheduled to be married there until big changes in our family, causing us to move 3.5 months before the wedding and changing our venue, and adding a lot of work to prepare and make for the new venue - our home.

Photo credit: Evita Smith.
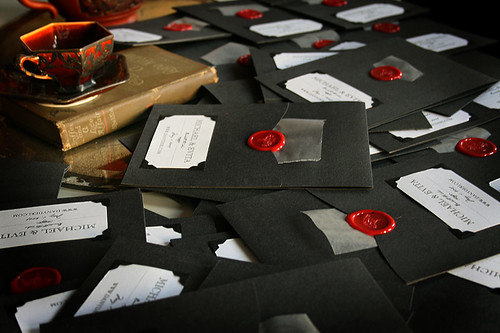
Stamp and wax purchased from Wax-works which is more for custom stuff and Wax Seals is more for peel and stick.

Sunday, August 30, 2009

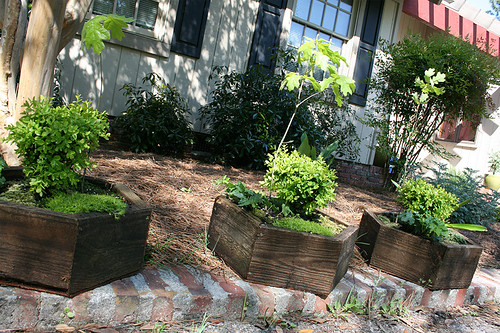
Living Centerpieces


{Photo credit: Stacy Bode}
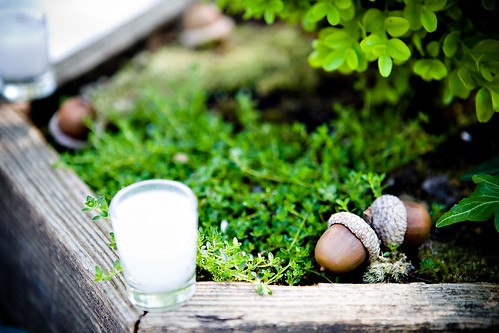
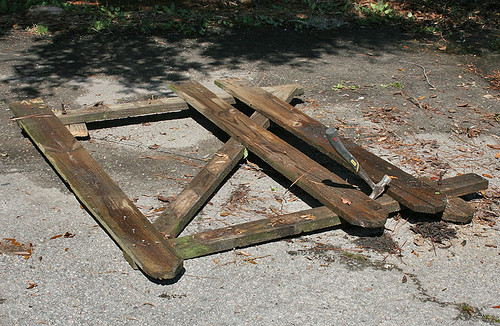
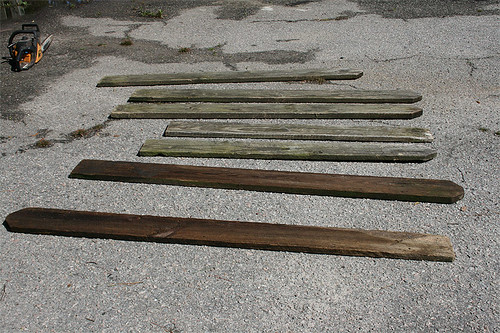
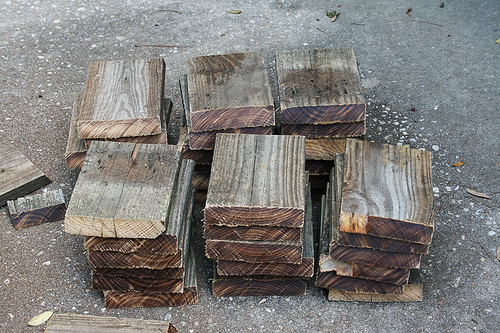
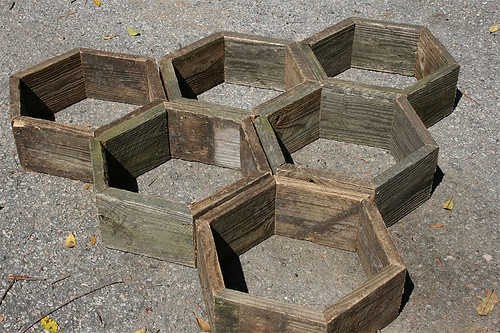
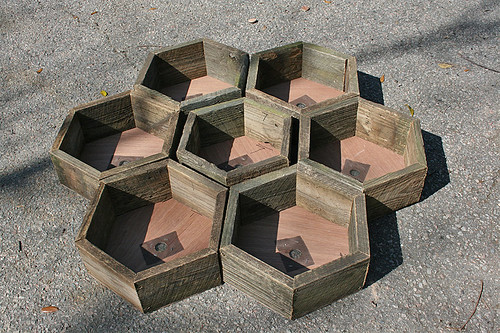
We crafted the boxes from old fencing we had in a scrap pile. We made them in the shape of a hexagon, which was an important element tying together our incorporation of bees along with our cake and the mead.

The acorns are from the same batch that I used for Michael's boutonniere. We collected them a couple of years ago.


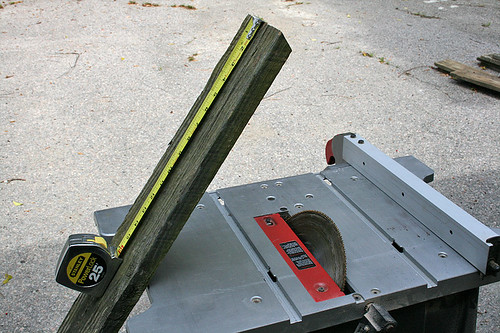
Measuring to make the cuts at 30°


Bottoms on with drainage holes and screens:


{Photo credit: Evita Smith}

Sunday, August 23, 2009

DIY Graphics

Our logo.

Absinthe label for the absinthe we purchased. The 'damask' pattern is from our logo.

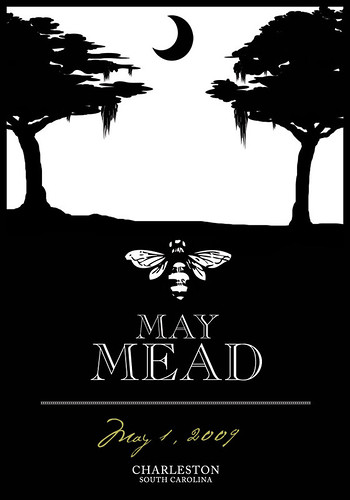
Mead label.

Cigar band.


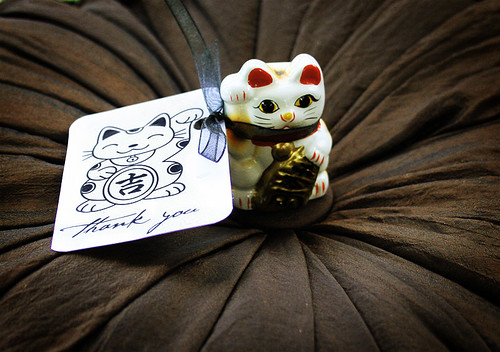
Lucky Cat favor cards. There are several stories of the origins of the Maneki Neko and the following is the version we choose to share with everyone.

"Japanese legend holds that long ago an emperor was traveling on horseback when he spotted a small cat waving at him. After the emperor dismounted from his horse to get a closer look the horse was struck by lightning and killed. Subsequently, the emperor pronounced that cats in general should be respected as sacred animals and thus was born the legend of the beckoning Maneki Neko. This is just one of several popular tales regarding the origin of Japan’s most famous cat.

The legendary kitty has been transformed from an emperor saving Samaritan to a bringer of money and good fortune to all Japanese. "